PumpkinPi: A Spooky Build Status Indicator

Halloween is the perfect time to combine technology with spookiness, and this year I’ve created something rather special: a build status indicator that brings your CI/CD pipeline to life in the most festive way possible. Meet PumpkinPi - a Raspberry Pi-powered pumpkin that glows different colours to show whether your builds are passing or failing.
The Concept
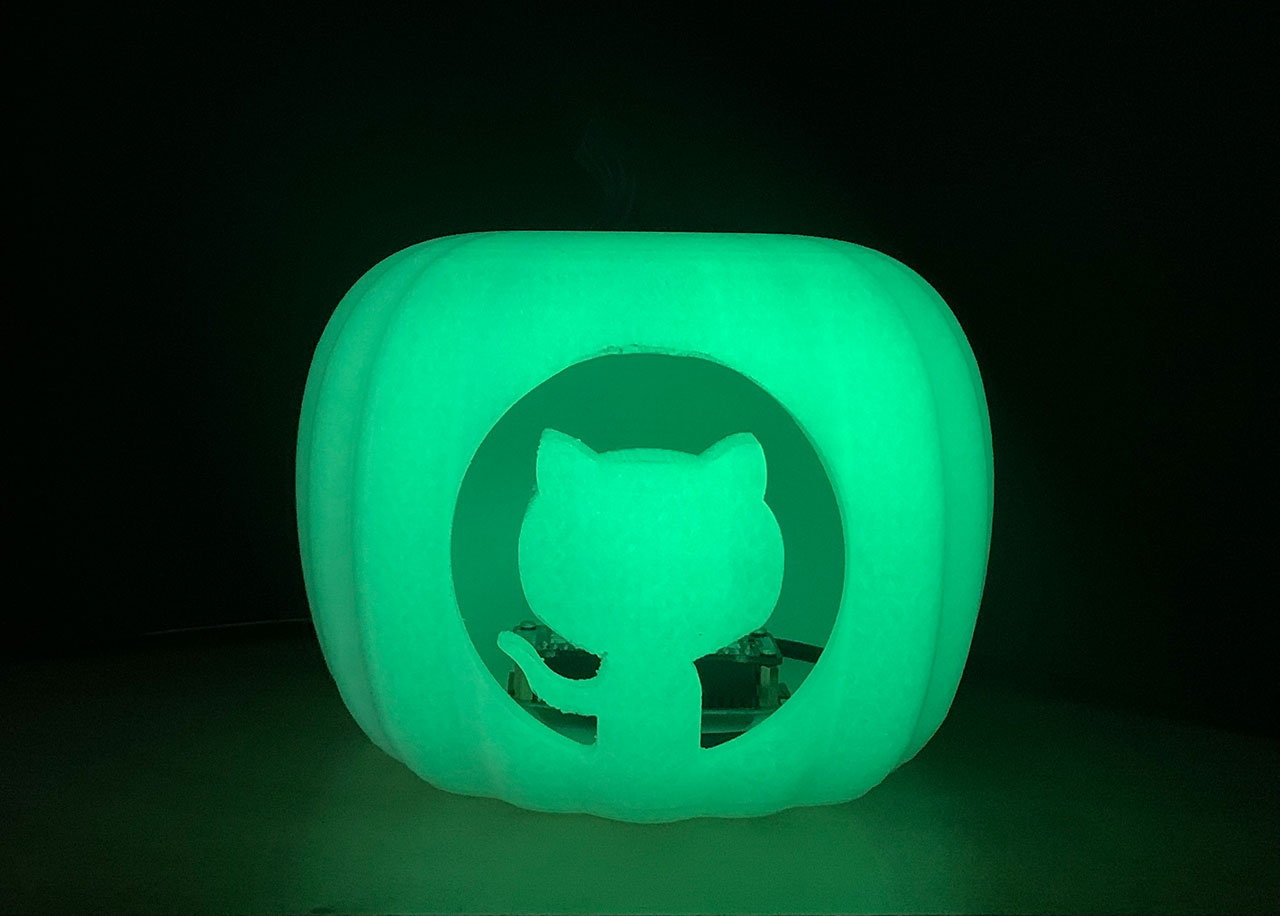
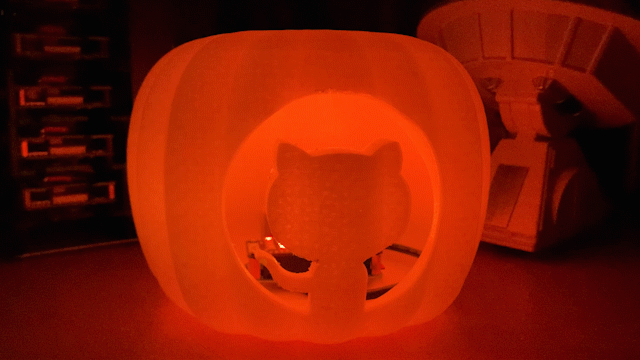
The idea is beautifully simple: take a pumpkin (real or 3D printed), stuff it with a Raspberry Pi Zero and a Unicorn HAT LED matrix, then have it monitor your build badges and change colours accordingly. Green for passing builds, orange for warnings, red for failures, and even some spooky flame effects when things go really wrong!
What You’ll Need
Hardware Requirements
To build your own PumpkinPi, you’ll need the following components:
- Pumpkin - Carve a real one or 3D print one
- Raspberry Pi Zero WH (UK, US)
- Pimoroni Unicorn pHAT (UK, US) - Note: now discontinued, but you can try the Unicorn HAT Mini instead
- Micro SD Card (UK, US)
- USB Power Supply - I used the official Raspberry Pi Charger (UK, US) but a USB battery pack works too
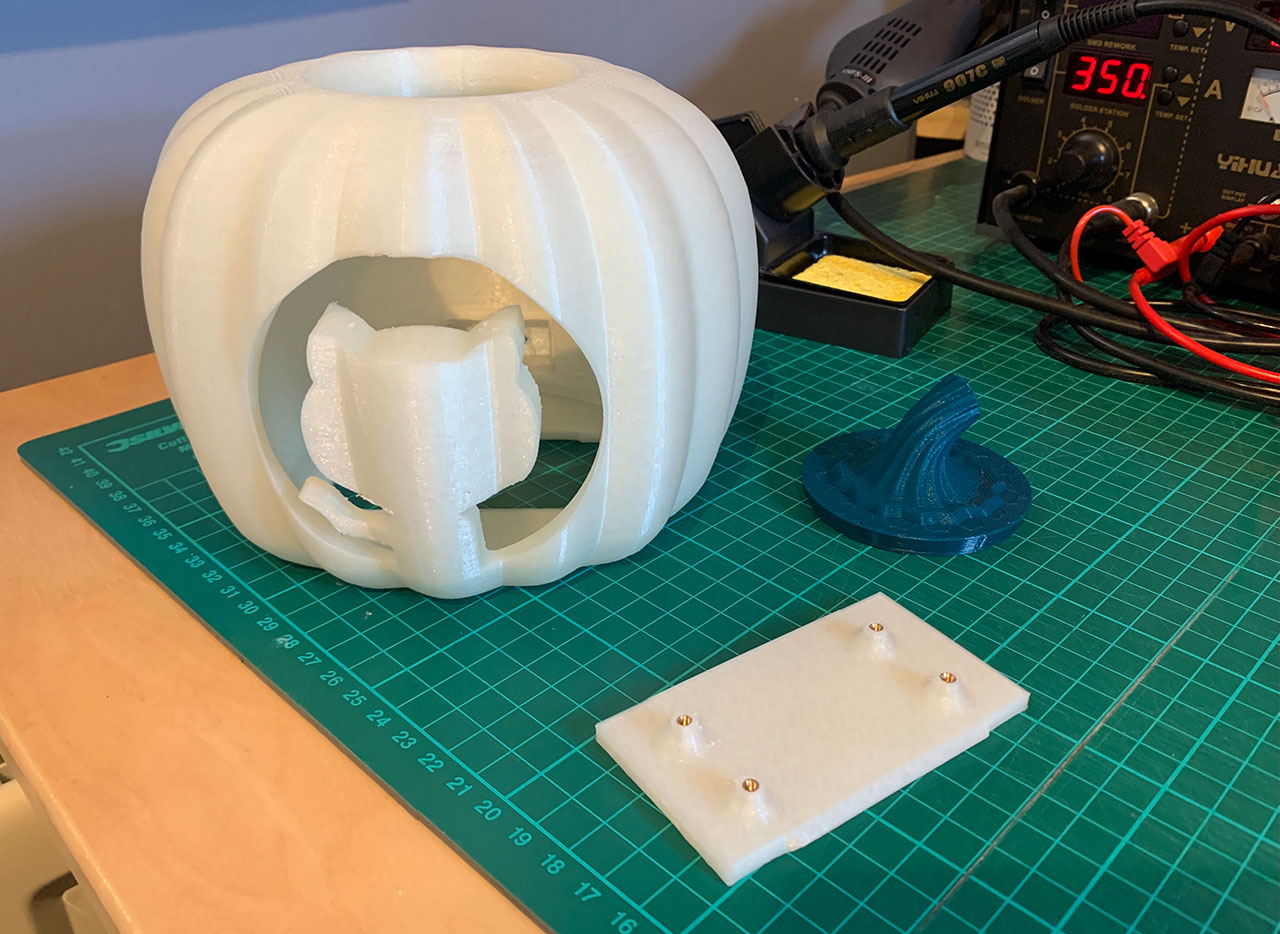
3D Printed Alternative
If you prefer a more permanent solution or fancy some precision engineering, I’ve included STL files for a 3D printed pumpkin case. For this route, you’ll also need:
- Glow in the Dark PLA Filament for the body (UK)
- Green PLA Filament for the top (UK, US)
- Adafruit Panel Mount Extension USB Cable - Micro B Male to Female [ADA3258] (UK, US)
- 4 x M2.5 threaded brass inserts (UK, US)
- 4 x M2.5 male PCB standoffs & screws (UK, US)
Setting It Up
1. Prepare Your Raspberry Pi
Start by installing Raspberry Pi OS Lite on your micro SD card. If you’re using a Pi Zero without keyboard and HDMI adapters, I recommend doing a headless installation. Simply drop an ssh file and a wpa_supplicant.conf file onto the root of the SD card after copying the OS files.
2. Install Dependencies
The brilliant folks at Pimoroni have created a one-line installer that handles all the dependencies for the Unicorn HAT, including Python and Git:
curl -sS https://get.pimoroni.com/unicornhat | bashYou’ll also need the requests module for Python:
sudo pip install requests3. Get the Code
Clone the PumpkinPi repository:
git clone https://github.com/martinwoodward/PumpkinPi.git4. Configure Your Build Badge
Copy the sample settings file:
cp ~/PumpkinPi/src/local_settings.sample ~/PumpkinPi/src/local_settings.pyEdit the settings to point to your build badge URL:
# Build Badge for the build you want to monitor
BADGE_LINK = "https://github.com/martinwoodward/calculator/workflows/CI/badge.svg?branch=main"
# How often to check (in seconds). Be nice to servers - once every 5 minutes is plenty.
REFRESH_INTERVAL = 300
You can use any standard build badge URL - GitHub Actions, Azure DevOps, Travis CI, Jenkins, or any other CI/CD system that provides SVG badges.
5. Run the Magic
Start the PumpkinPi script:
sudo python ~/PumpkinPi/src/pumpkinpi.py &Making It Permanent
Once you’re happy with how everything works, you’ll want the script to start automatically when the Pi boots. The easiest way is using crontab:
sudo crontab -eAdd this line:
@reboot /bin/sleep 10 ; /usr/bin/python /home/pi/PumpkinPi/src/pumpkinpi.py &The 10-second delay allows the network to come up before the script starts monitoring your builds.
The Result
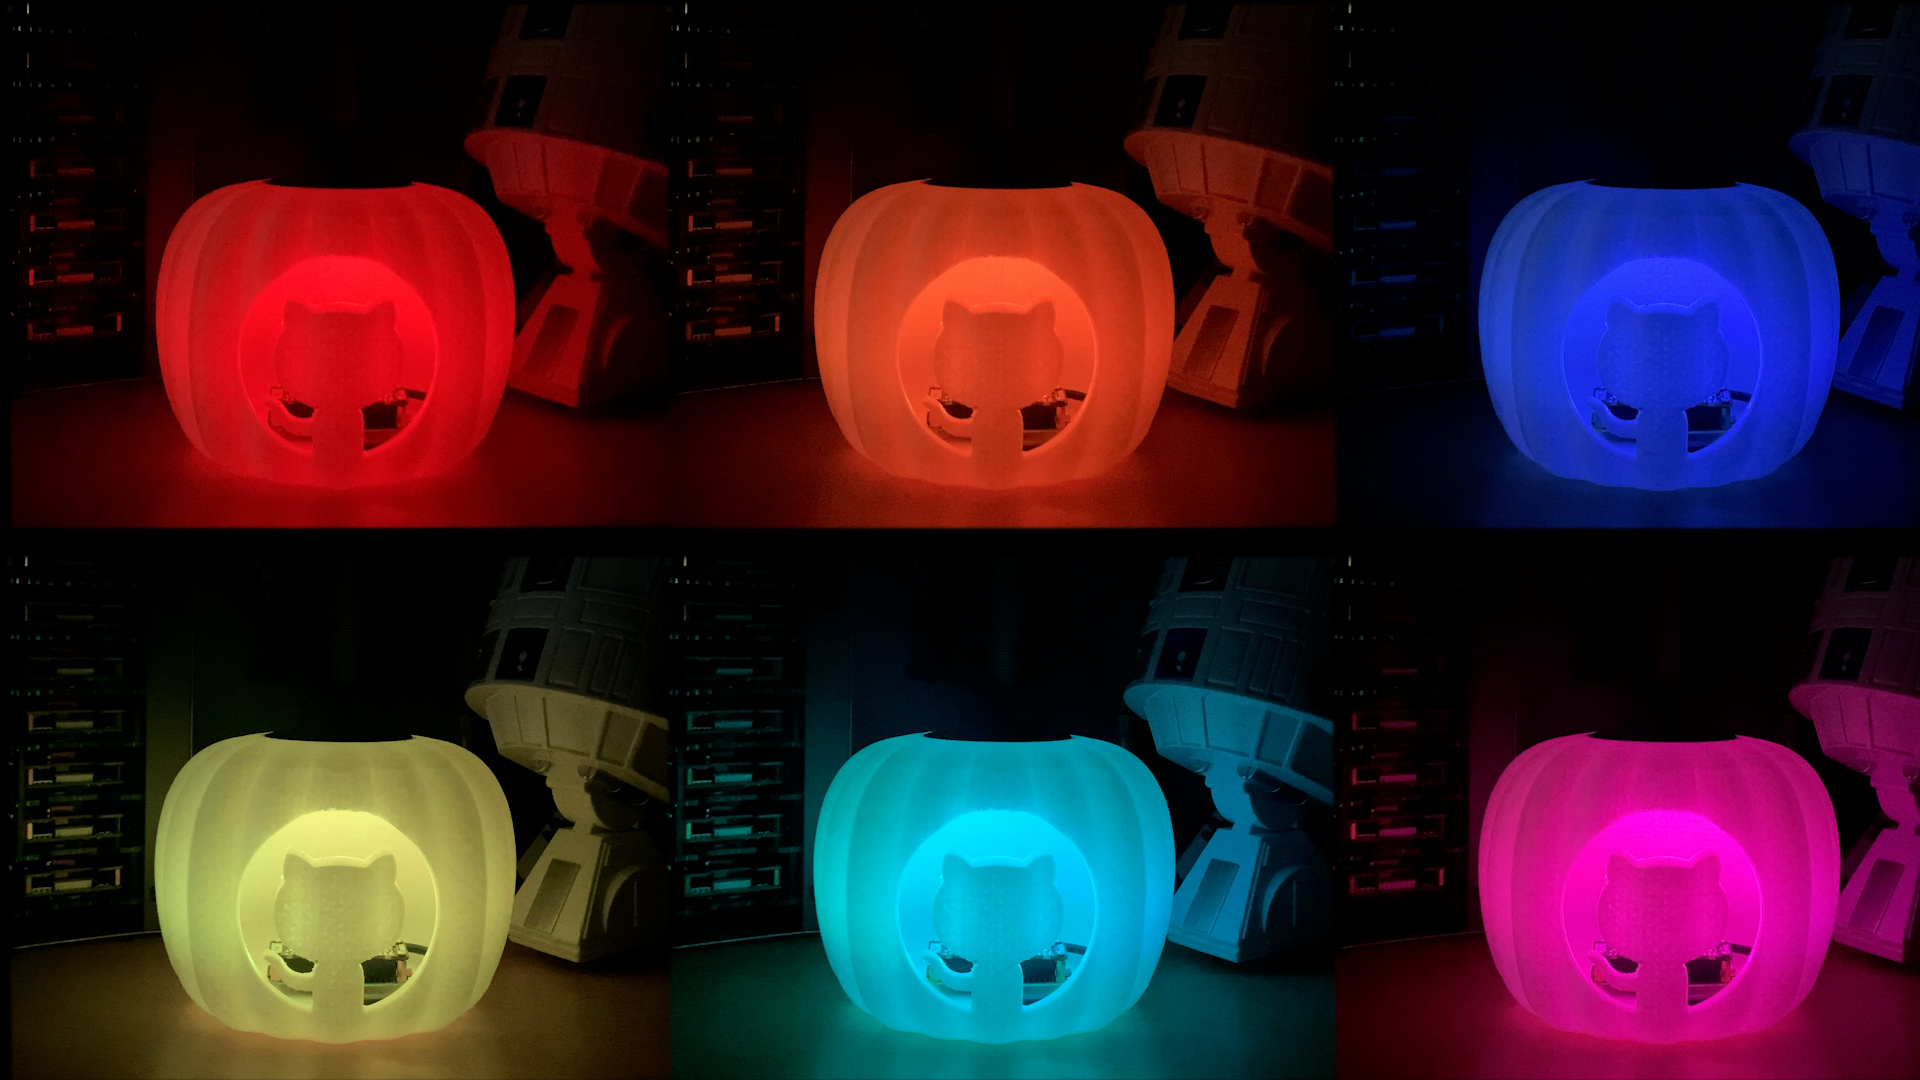
When everything’s working, you’ll have a delightfully spooky build status indicator that:
- Glows green when your builds are passing
- Shows orange for warnings or unstable builds
- Flashes red when builds fail
- Displays flame effects for really catastrophic failures
Why This Matters
Beyond the obvious fun factor, there’s something surprisingly effective about having a physical indicator for your build status. It sits on your desk (or shelf) providing ambient information about your project’s health. No need to check dashboards or remember to look at notifications - if the pumpkin’s green, all is well in your codebase.
It’s also a fantastic conversation starter and a great way to introduce colleagues to the concepts of continuous integration and DevOps practices. Nothing quite explains the importance of keeping builds green like a glowing pumpkin!
Get Building
The complete project, including all the Python code, 3D printing files, and detailed instructions, is available on GitHub: martinwoodward/PumpkinPi.
Whether you carve a real pumpkin or 3D print a precision case, PumpkinPi is a fun way to bring some seasonal spirit to your development workflow. Happy Halloween, and may all your builds be green! 🎃
For electronics purchases, I highly recommend AdaFruit in the US and The Pi Hut in the UK. They’re fantastic suppliers who really know their stuff.